10 sequential steps to use Elm with a Phoenix app

At the time of this writing the following steps are straight to the point to create a new Phoenix application and configuring Elm on top of it.
I’ll assume that you have Phoenix, Elm and NodeJS ready to rock. Ah, and you would probably like to use your application name where you read mr_wednesday:
- $ mix phx.new mr_wednesday
- $ cd mr_wednesday/assets
- $ npm install
--save-dev elm-brunch - $ mkdir elm
- $ cd elm
- $ elm package install elm-lang/html
- edit
mr_wednesday/assets/brunch-config.js- add the elm dir to the watched paths section:
paths: { watched: ["static", "css", "js", "vendor", "elm"], // ... }- add the a new section called
elmBrunchto the config underplugins:
elmBrunch: { elmFolder: "elm", mainModules: ["Main.elm"], outputFolder: "../js" } -
create
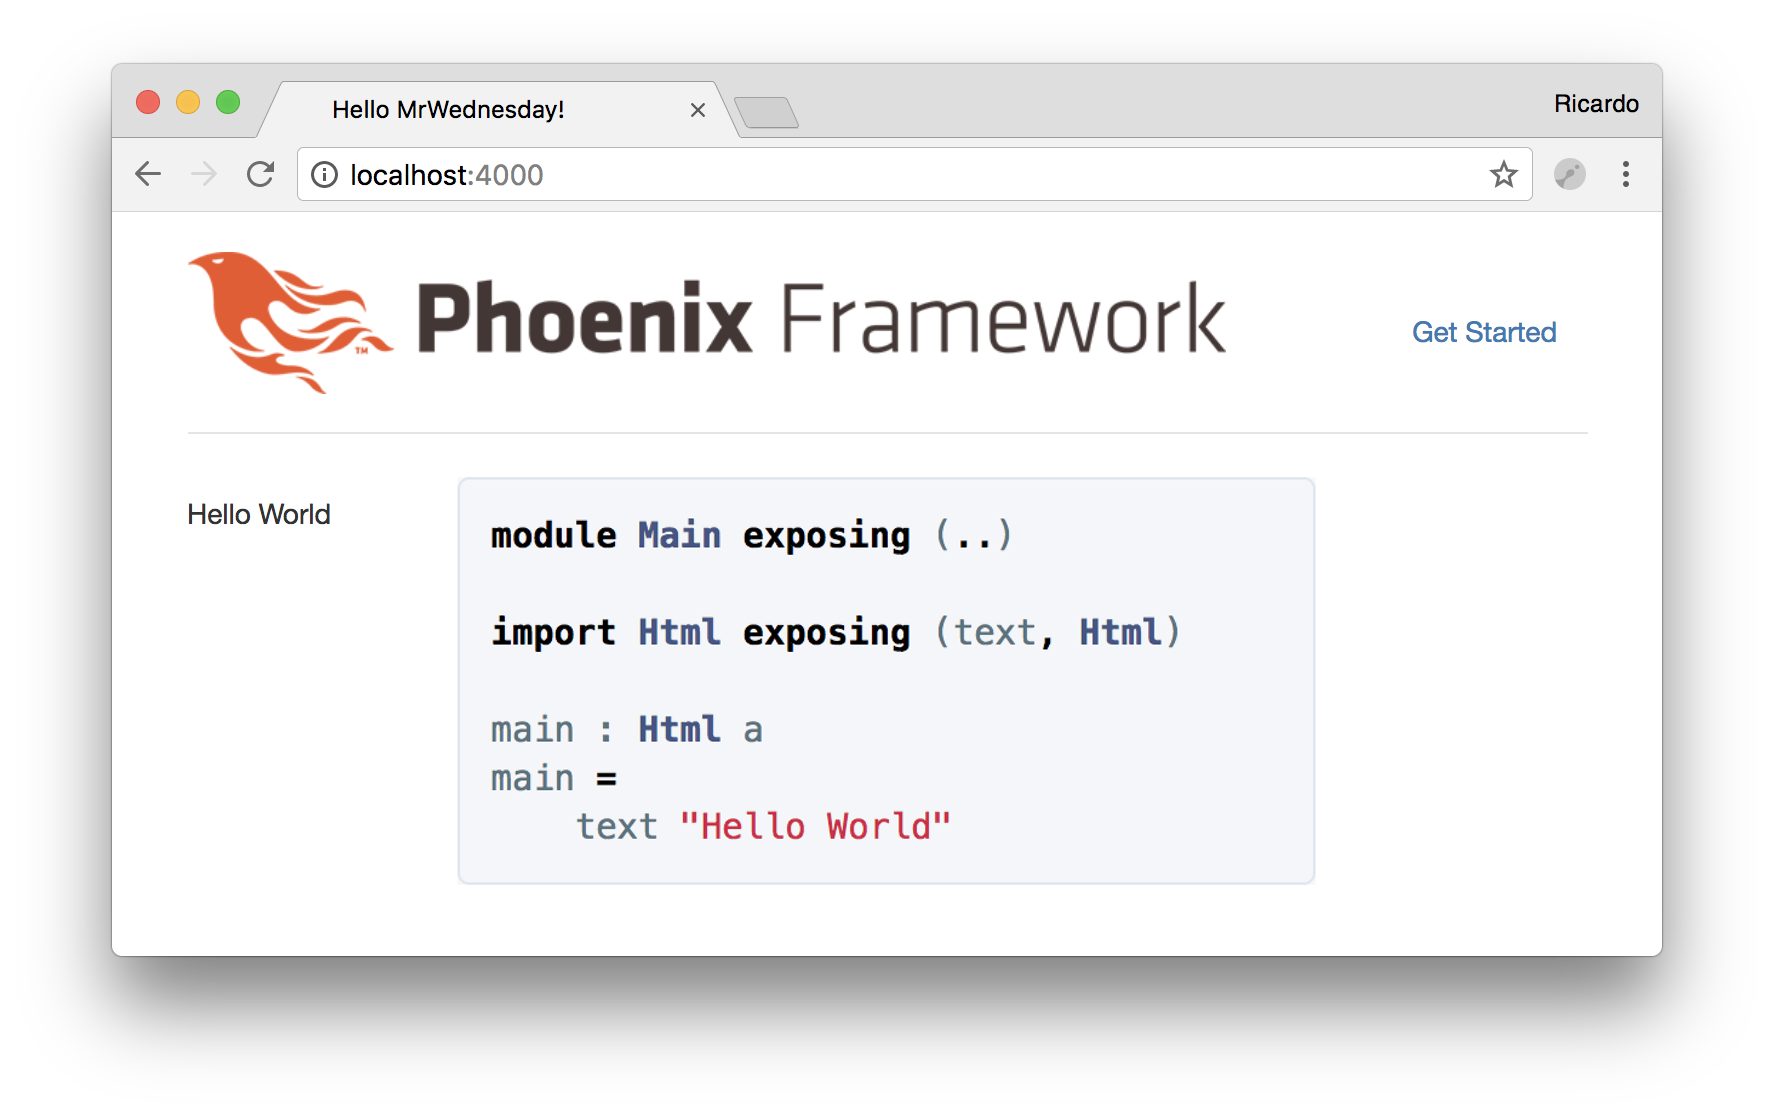
mr_wednesday/assets/elm/Main.elmmodule Main exposing (..) import Html exposing (text, Html) main : Html a main = text "Hello World" -
edit
mr_wednesday/assets/js/app.jsand add:import Elm from "./main" const elmDiv = document.querySelector("div#elm-app") Elm.Main.embed(elmDiv) -
edit
mr_wednesday/lib/mr_wednesday_web/templates/page/index.html.eex:<div id="elm-app"></div>
Run the app.
Why not, right? Some more steps for you:
- $ cd mr_wednesday
- $ mix ecto.create
- $ mix phx.server
- visit http://localhost:4000
And you should see a unsurprisingly boring hello world directly from Elm.